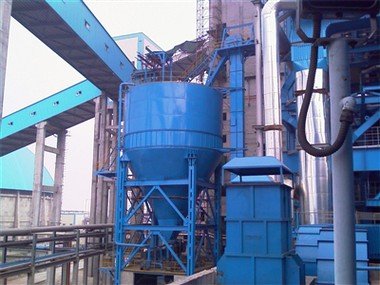
1. The bucket elevator must be firmly installed on a solid concrete foundation. The surface of the concrete foundation should be flat and horizontal to ensure that the bucket elevator meets the vertical requirements after installation.
The middle and upper casings of the bucket elevator with a higher height should be connected to the adjacent buildings (such as silos, workshops, etc.) at appropriate positions to increase its stability. When installing, first install the lower parts, fix the anchor bolts, then install the middle casing, and then install the upper casing. The casing is successfully installed and the verticality is corrected. Use a plumb line to measure the height up and down, and the error should be less than 10mm. The upper and lower axes should be parallel, and their axis lines should be in the same plane.
When installing a bucket elevator with a lower height, the upper, middle and lower casings can be connected and corrected on the ground plane, and then the whole is hung straight and fixed on the concrete foundation.
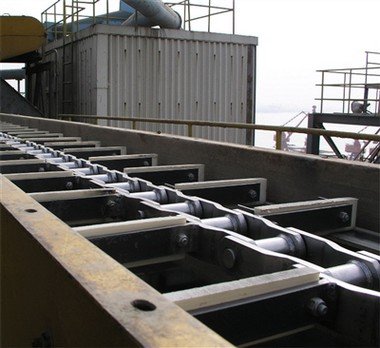
2. After the casing is installed, install the chain and bucket. The U-shaped screw used for the bucket connection is both a chain joint and a fixing part of the bucket. The nut of the U-shaped screw must be tightened and reliably prevented from loosening.
3. After the chain and hopper are installed, they should be properly tensioned.
4. Add appropriate amounts of engine oil and butter to the reducer and bearing seat respectively. The reducer is lubricated with industrial gear oil. Calcium-based or sodium-based butter can be used in the bearing seat.
5. Test run. After the installation is completed, the empty car test run should be carried out. When running empty, attention should be paid: no reversal and no bumping. The empty run should be no less than 2 hours, there should be no overheating, the bearing temperature rise should not exceed 250C, and the reducer temperature rise should not exceed 300C. After running empty for 2 hours, if everything is normal, the load test can be carried out. During the load test, the feeding should be uniform to prevent excessive feeding and blockage of the lower part to cause “stuffy car”.